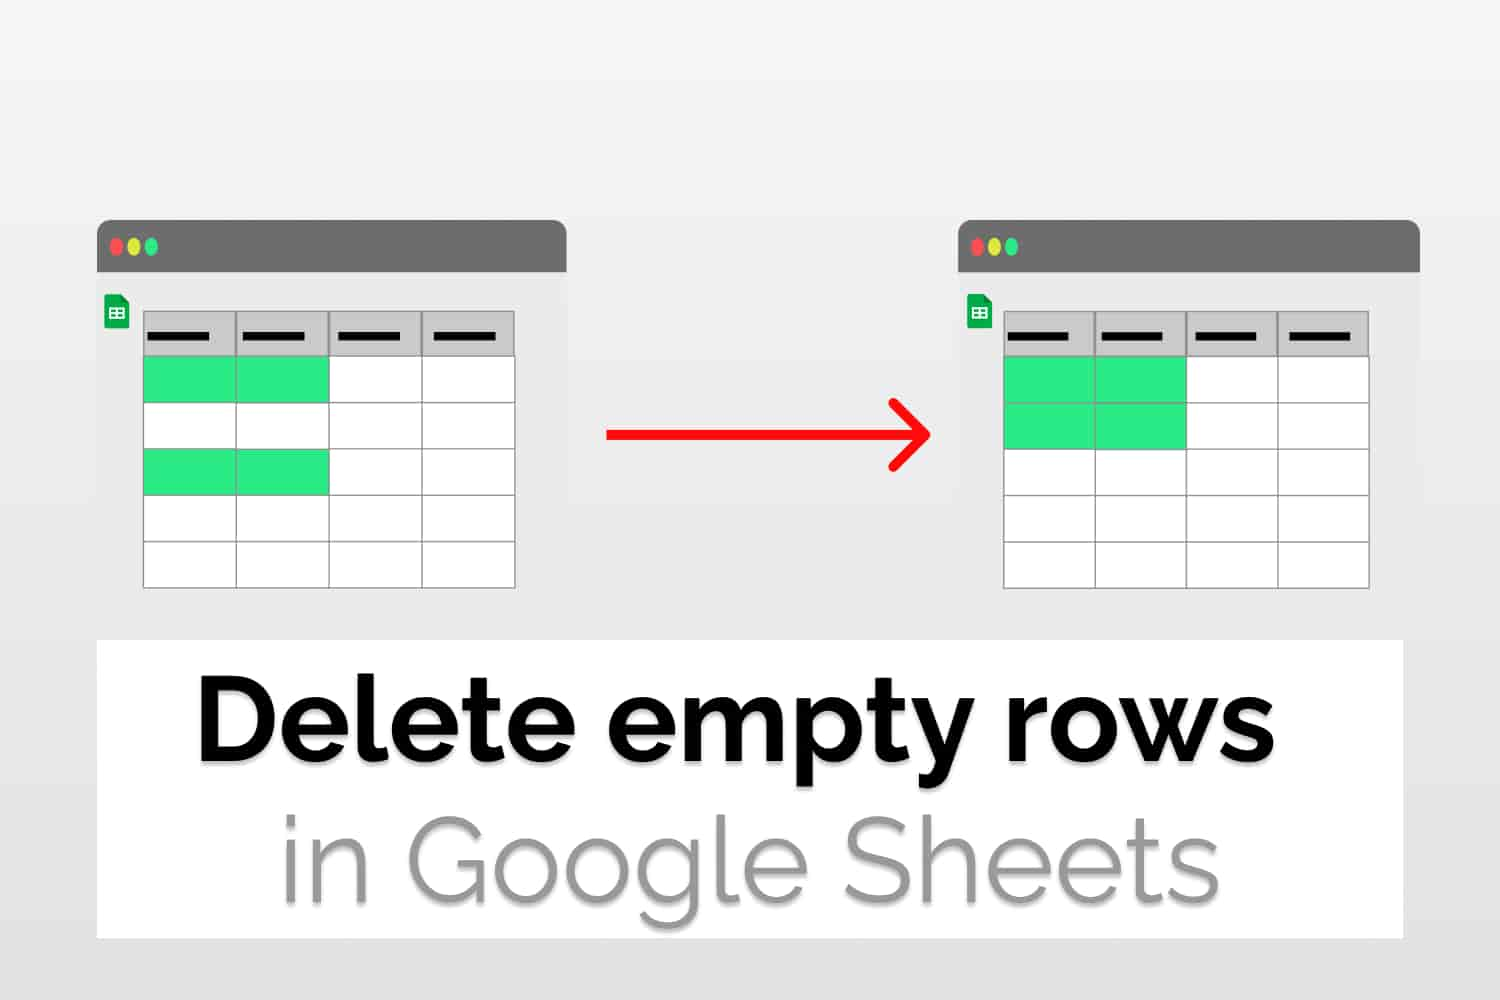

In this article we would see how to delete empty rows in Google Sheets using two different ways. First by filtering the data to display the empty rows and then deleting those tables. The second way is also some what similar. It includes sorting the data and removing the empty rows.
Delete empty rows in Google sheets by filtering data
Let’s say we have a sheet with a lot of entries and few of the rows are blank, i.e. no value has been added for few rows.

The idea behind the method is that we would filter the table first so that all the non empty rows come on the top and then delete empty rows. Other rows will remain unaffected by the deletions, hence we will get final list. To follow the given method follow the written steps.
- Select the entire table. Also keep in mind not to skip the empty rows in between that you want to delete.
- After selecting the table, go to Data>Create a Filter.

- Click on the icon on any of the column header.

- Click on “Clear” to remove any existing filter. Then select “(Blanks)” and click OK.

- Now you’ll see the filtered rows, i.e. empty rows. It’s pretty straightforward after that. You just have to select the rows and delete them.

- Only thing left is to remove the applied filter. To do so, select the headers, then go to Data>Remove Filter.

- The final table would look something like this after you remove the filter.

You can read more about filtering in Google Sheets here.
Delete empty rows in Google Sheets by sorting the table
In the previous section we saw how to delete the empty rows using filters. Another way to delete empty rows in Google Sheets by sorting the entries. This also comes with few caveats which we will see later. To do so, follow the given steps.
- Select the entire table. Also include the rows/entries with empty data. Don’t include the headers.
- After selecting the data, go to Data>Sort Range>Sort range by Z to A

- The data will get sorted in a descending fashion. The empty rows would get clustered at the end of the data which you can delete if you want to.
While this method is much easier to implement there are some points you need to consider. Firstly, in the end you will have a sorted dataset. If you want to preserve the original order then you should prefer the first method. Secondly, remember to exclude the headers from the sorting, otherwise, they would end up somewhere in between your data set. Also, remember to sort the array in a descending fashion. If you sort it in ascending order then the empty rows would accumulate at the starting.
Conclusion
Hence we saw how to delete empty rows in Google Sheets using two good methods. There are a lot more ways to do it but these are the most straightforward ones.
See Also
You can checkout other equal good articles on Google Sheets here.
How to import JSON in Google Sheets: See how to work with JSON using Apps Script Editor. Convert JSON data from a URL to Google Sheets table.
Using Vlookup and Hlookup together: Learn how to reference data from other sheets in Google Sheets including sheets from a different spreadsheet file.
How to group rows in Google Sheets: We will learn how to group rows in Google Sheets. We will also have a look at nested grouping.