In this article we will see how to implement a date picker in Google Sheets to enter dates and also how to validate the date entered.

Need for Date Picker
If there are many users accessing a sheet, there is always a possibility that someone would enter the date in incorrect format which can mess up the formulas and functionality of the sheet. Hence a date picker is very useful in such scenarios. It is pretty easy to implement one and we will see how to implement a date picker in Google Sheets in this article.
Implicitly insert a date picker in Google Sheets
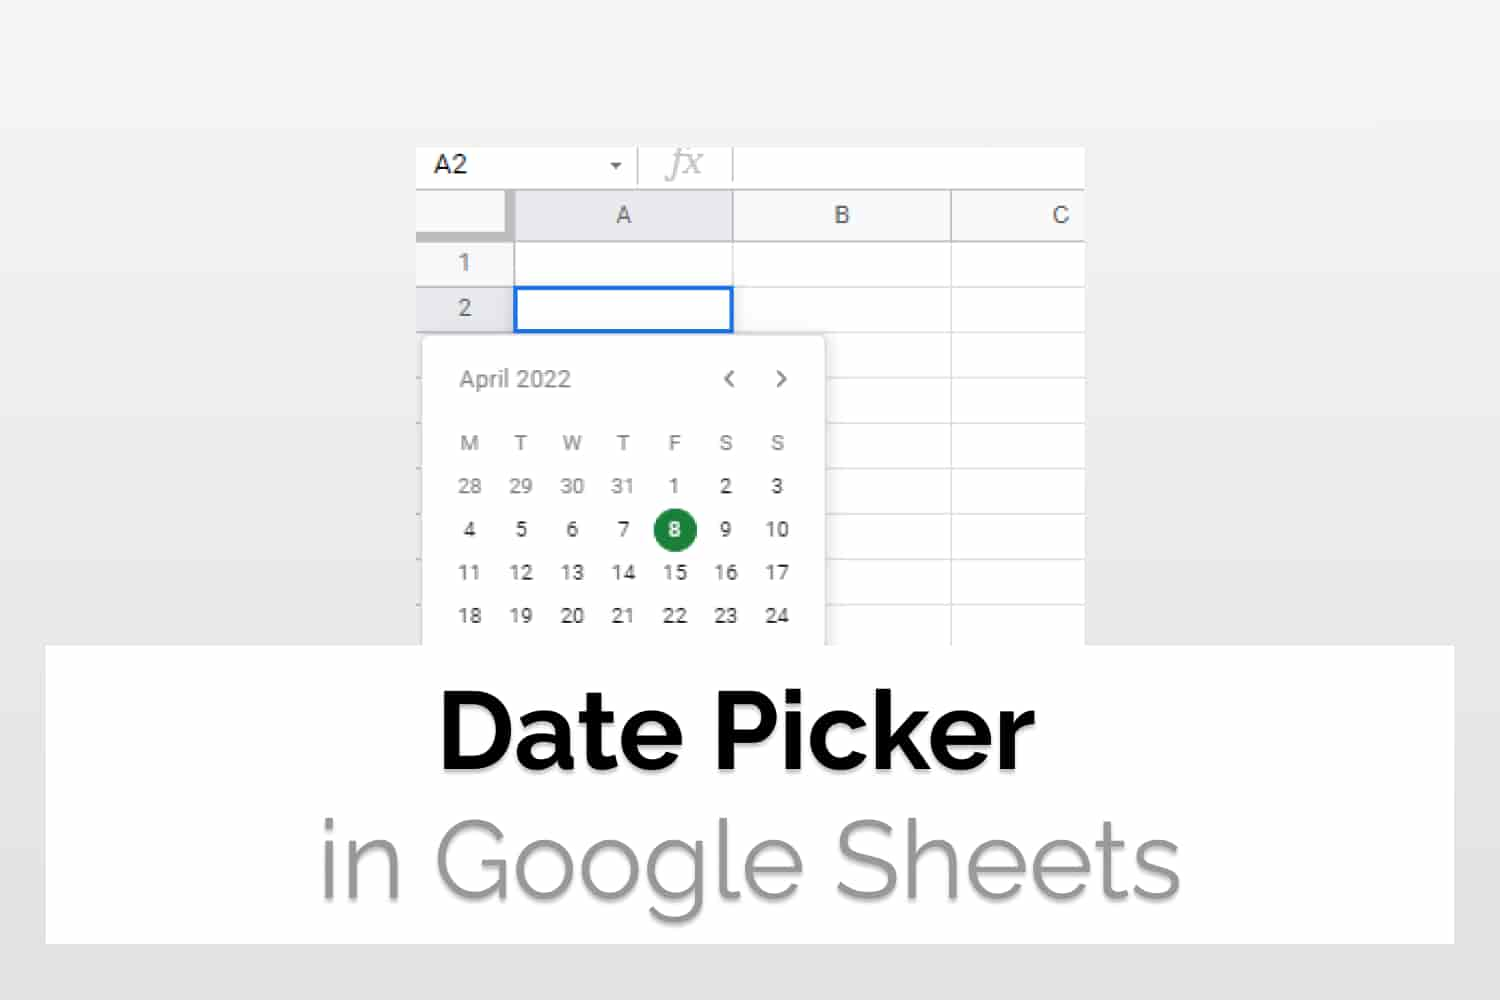
If you insert a date in a valid format in any cell, then, by default google sheets shows the date picker when you double click on the cell.

Alternatively, to be sure, after you enter the date in any cell, you can explicitly convert the cell to choose a date picker. To do so select the cell, then go to Format>Number>Date.

So now, whenever you double click on the cell, a date picker would pop up.
Add a Date Picker to a cell
What we saw till now was that we entered a date into a cell and sheets automatically showed a date picker when we edited the value. What if we needed to insert a date picker into an empty cell.
To do the given we can make use of the Data validation Feature in Google Sheets
- Click and select the cells or range of cells you want to insert the date picker in
- Go to Data>Data Validation

- This would open the data validation popup. This contains a lot of options that we would go through later.

- In the criteria section, select “Date” from the dropdown. The system would choose “is a valid date” by default. If not, then choose from the next dropdown
- Select the radio button for “Reject Input” so that the sheet does not accepts invalid date formats.
- Additionally, you can add a message for the user. To do that check the appearance checkbox and add the relevant message in the text input.
- The final settings would look like this. After this, hit “Save”.

- Now if you double click on the empty cell, a date picker will appear.

Set range for date picker
Sometimes you want to have a range of valid dates. To do so go back to the data validation window. Then in the criteria section, choose the rule you want to apply.

Enter the required message as well. Enter the favorable settings and then hit “Save”. After this only valid dates would be allowed in the cell.
Conclusion
We saw how to insert a datepicker in Google Sheets implicitly and explicitly. We also saw how to validate the date so that only the date which satisfies a given condition is entered. You can read more about data validation in here.
See Also
You can checkout other equally good articles on Google Sheets here.
Delete Empty rows in Google Sheets: In this article we would see how to delete empty rows in Google Sheets using two different ways.
How to group rows in Google Sheets: We will learn how to group rows in Google Sheets. We will also have a look at nested grouping.